Affiliate Disclosure: Vibration Plate Zone is a proud participant in the Amazon Services LLC Associates Program.
Whole body vibration has become a popular addition to home fitness, but many people still wonder how to use a vibration plate correctly. I have spent years coaching clients through this process and using one myself. While the concept is simple, you stand or perform exercises on a platform that vibrates, there are nuances that make a big difference in comfort and results.
This guide explains how to set up, stand, and move on a vibration plate, with variations for beginners, weight loss, lymphatic drainage, and back pain relief. By following these steps, you will gain confidence and unlock the benefits of vibration training.
How to Use a Vibration Plate: Understanding the Basics
Before stepping on the machine, it helps to know what a vibration plate does and how it affects your body. A vibrating platform sends mechanical waves through your feet or hands, causing your muscles to contract and relax very quickly. This reflexive action can improve strength, balance, circulation, and even bone health.
The key controls are frequency (measured in hertz), amplitude (how far the plate moves up and down or side to side), and time. For most home machines, you can adjust these settings to match your goals.
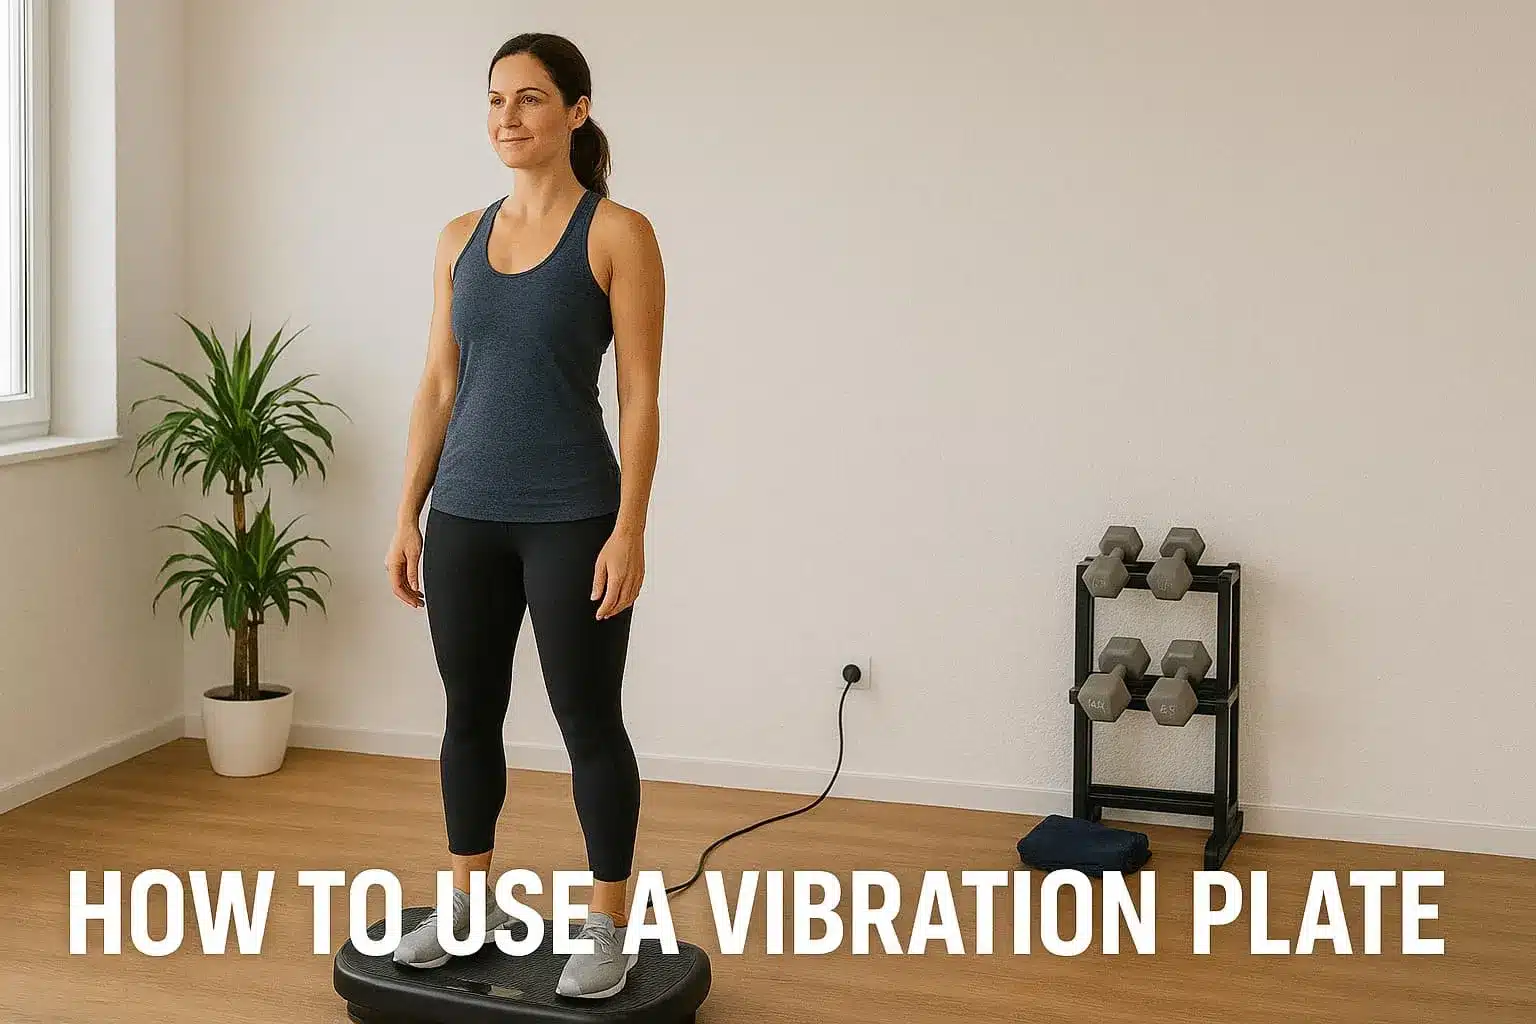
I always start by reading the manual and familiarising myself with the controls. Begin at a low frequency and amplitude, usually around 10–15 hertz, and stand on the platform with knees slightly bent. Keep your core engaged, shoulders back, and head aligned with your spine. Never lock your knees or lean your weight backward. The gentle vibrations should travel through your legs and torso; if you feel them in your head or teeth, reduce the intensity or adjust your stance.
Understanding how vibration works helps you make the most of the machine. For a deeper dive into the science and history of these devices, check our comprehensive article on what a vibration plate is. That page explains how different types of vibration plates operate and which settings are best for various outcomes.
Setting Up Your Vibration Plate Safely

Proper setup ensures that each session is comfortable and effective. Place your vibration plate on a flat, non-slip surface. If your floor is hardwood or tile, use a rubber mat to dampen noise and protect your flooring.
Make sure there is enough space around the unit to step on and off safely.
Before turning it on, inspect the power cord for damage and ensure the remote control (if included) has fresh batteries.
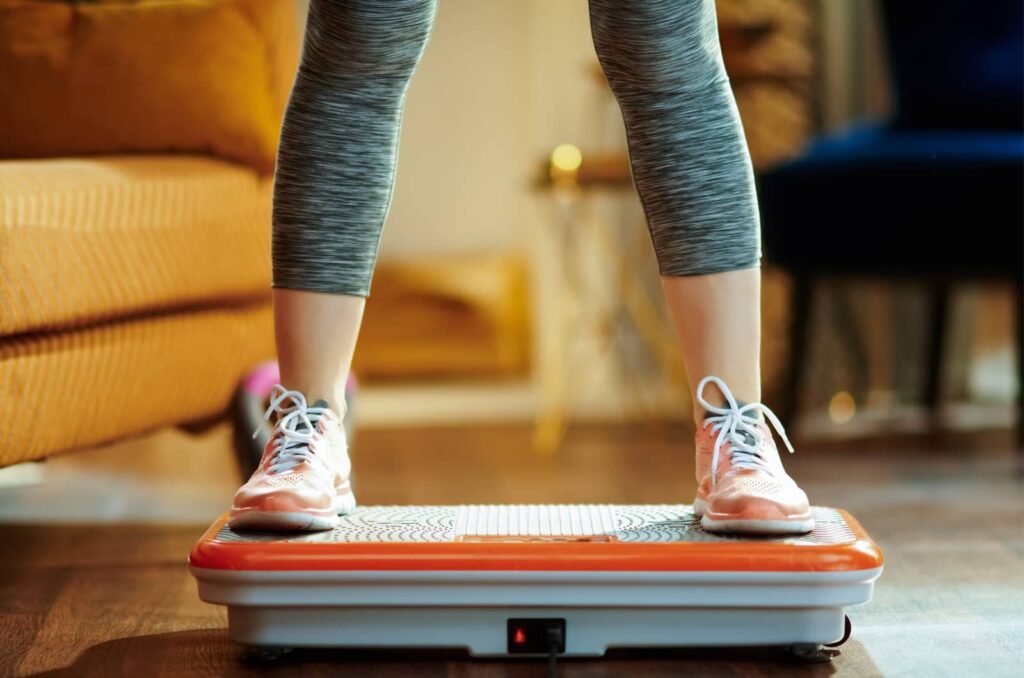
For stability, start with both feet on the center of the plate. I recommend wearing athletic shoes until you are used to the sensation. Shoes help dampen vibration and reduce stress on your joints.
As you gain experience, you can experiment with barefoot sessions to strengthen your feet and improve balance. However, always listen to your body and avoid any positions that cause discomfort.
Simple Moves and Posture for Beginners

If you are new to vibration training, focus on basic positions that allow you to get used to the feeling. Begin with a five‑minute session at low intensity.
Stand with your feet shoulder‑width apart, knees bent, and hands resting lightly on your hips or clasped in front of you. Keep your weight centered and breathe normally. This position works your legs and core while helping you adjust to the vibrations.
After a minute or two, try shifting your weight gently from side to side or forward and back. These small movements engage stabilising muscles and improve coordination. You can then incorporate slight knee bends or hold a half squat for 20–30 seconds. Keep sessions short, especially during the first week. You should feel a pleasant challenge but not excessive fatigue.
Some people like to combine vibration training with simple bodyweight exercises. I often add calf raises by lifting my heels and lowering them slowly. This helps build calf strength and improves balance. If you want to include upper body work, you can perform wall pushes or place your hands on the plate in an elevated plank position. Always maintain a soft bend in your elbows and keep your head in line with your spine.
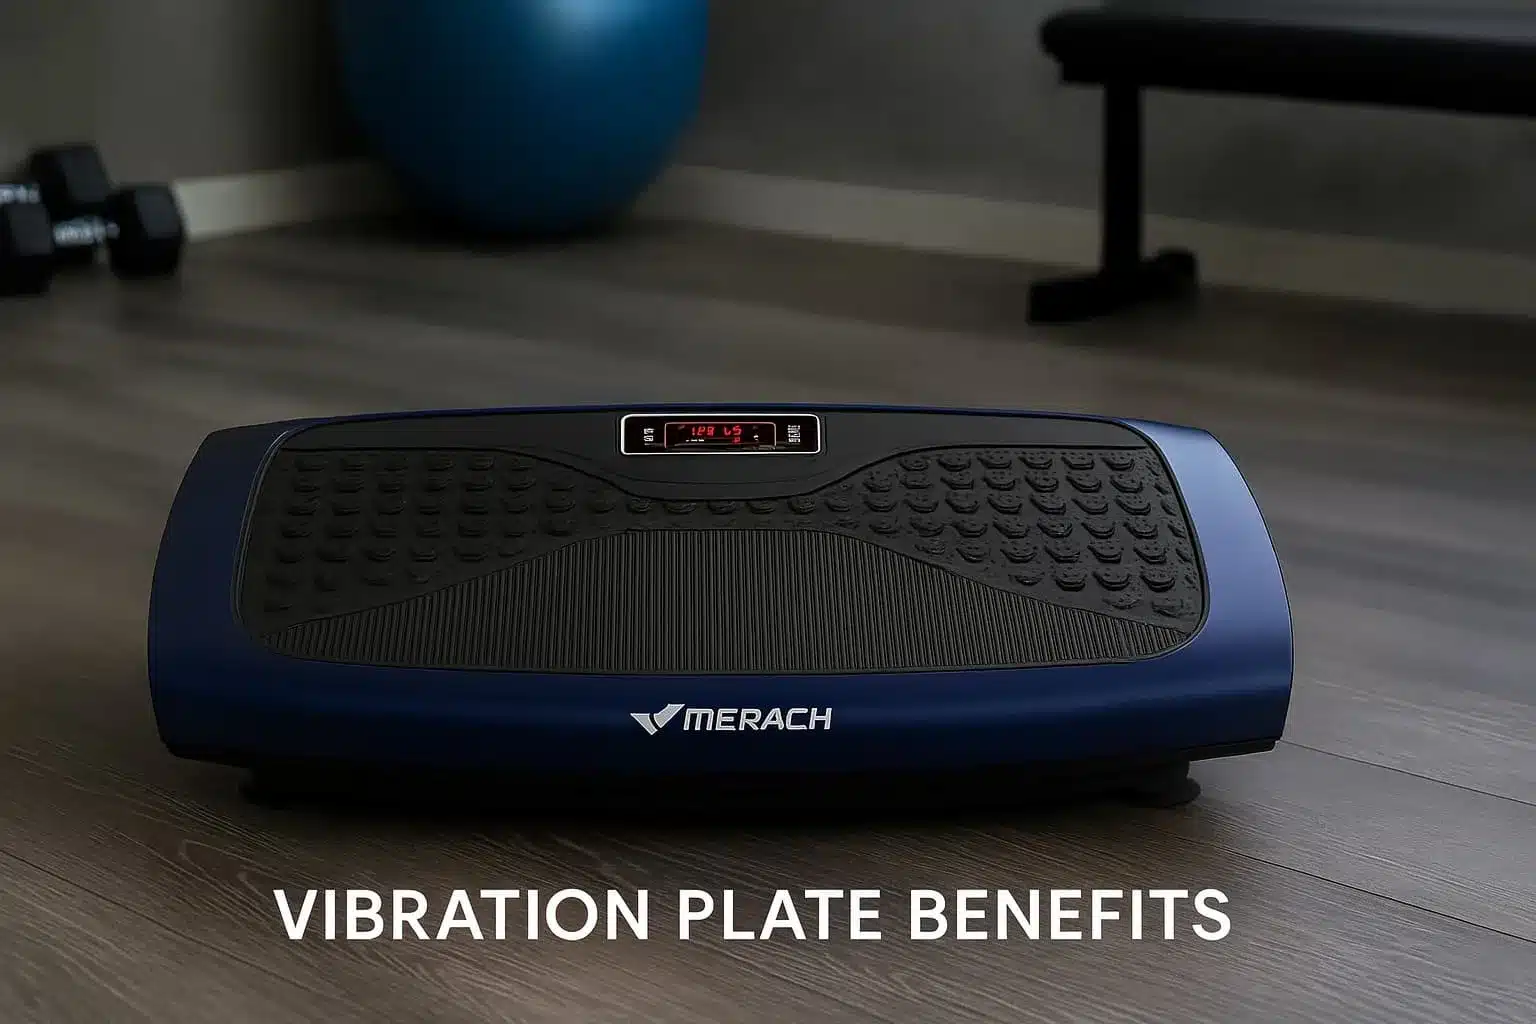
Beginners may find it helpful to read a detailed breakdown of vibration plate fundamentals. Our knowledge hub article vibration plate benefits covers advantages such as increased muscle activation and improved circulation, which can motivate you to stick with the practice.
How to Use a Vibration Plate for Lymphatic Drainage

The lymphatic system relies on movement to transport fluid and remove waste from the body. A vibration plate for lymphatic drainage workout stimulates this flow through gentle oscillations.
To encourage lymphatic drainage, use low frequency settings (around 10–20 hertz) and stand in a relaxed, stable position. Keep your knees soft and shift your weight gradually from one foot to the other. Deep, steady breathing enhances the pumping effect.
During these sessions, I avoid any high‑impact moves or heavy weights. Instead, I focus on dynamic stretches: lifting one heel while pressing the opposite toes into the plate, or raising my arms overhead as I inhale and lowering them as I exhale.
Sessions for lymphatic drainage typically last 5–10 minutes. For more inspiration, our list of the best vibration plates for lymphatic drainage features models that excel at gentle oscillation and smooth speed transitions.
How to Use a Vibration Plate for Weight Loss

Vibration training can support weight management by increasing muscle activation and calorie expenditure. However, it should complement a balanced diet and other forms of exercise.
When I use a vibration plate for fat loss, I combine it with dynamic bodyweight movements and higher frequencies. For example, I set the plate to a medium or high speed (around 25–35 hertz) and perform squats, lunges, push‑ups, and planks on the platform. These vibration plate exercises engage large muscle groups, boosting heart rate and energy use.
I typically structure a weight loss session as follows: a two‑minute warm‑up at low intensity, followed by three rounds of compound movements lasting about one minute each with 30 seconds of rest in between. After the workout, I cool down with gentle stretching and lower‑frequency vibration to support circulation and recovery.
Remember that vibration alone will not burn significant fat; it works best when paired with walking, jogging, or strength training off the platform. You can explore our guide to the best vibration plates for weight loss to choose a machine with features that suit more intense workouts.
On a very related topic, I recommend that you read my guide to the vibration plate for cellulite reduction.
How to Use a Vibration Plate for Beginners
Starting any new form of exercise can feel intimidating, and vibration plates are no exception. Beginners should focus on learning proper form and building confidence before progressing to advanced settings.
I recommend keeping the first few sessions short, five to ten minutes, at a low frequency (15–20 hertz). Your stance should remain stable, with feet parallel and knees slightly bent.
After you feel comfortable standing still, incorporate gentle movements. Try alternating between a half squat and standing upright, or lift one foot slightly off the platform while maintaining balance. Avoid complex exercises or high frequencies until you have practiced the basics.
As you gain familiarity, you can extend your sessions to 15 minutes and add simple bodyweight exercises like bridges or side leg raises. If you need a machine specifically suited for small spaces and quiet operation, consider the models highlighted in our list of the best vibration plates for home use.
How to Use a Vibration Plate for Back Pain Relief

As I mentioned in the vibration plate vs. treadmill post, vibration training can help relieve back discomfort by promoting blood flow, relaxing tight muscles, and encouraging gentle movements. When using a vibration plate for back pain, always consult your healthcare provider first to ensure it is safe for your condition. If you get the green light, keep sessions gentle and focus on posture. Set the frequency to a low range (around 15–20 hertz) and stand with your feet shoulder‑width apart.
A favorite technique of mine is to perform pelvic tilts while on the plate. Stand with knees bent, place your hands on your hips, and gently tilt your pelvis forward and backward, engaging your lower abdominal muscles. This helps mobilise the lumbar region without heavy strain.
You can also try mini knee bends, shifting your weight from one foot to the other, or holding a gentle cat‑cow stretch by placing your hands on your thighs and arching and rounding your back slowly.
Readers who want a broader set of vibration-assisted stretch options, including lower-body and hip-flexor positions, will find specific protocols in my article on vibration plate stretching routines.
Keep sessions short and stop immediately if you feel pain. For individuals needing more structured guidance, the best vibration plates for neuropathy article provides recommendations for plates with gentle, adjustable settings ideal for sensitive conditions.
How to Use a Vibration Plate for Seniors
Older adults often benefit more from vibration plate training than younger users because the barrier to conventional exercise is higher. Walking, resistance training, and aerobic classes all carry a fall risk or joint load that reduces how consistently they get used. The vibration plate provides a low-impact stimulus that produces muscle activation and circulatory benefits without requiring the same physical output.
The starting frequency for senior users should be lower than general recommendations: 6 to 10 Hz for the first two to three weeks, with session lengths of five minutes or less. Balance is the priority before frequency. Holding a wall or the machine's handrails during early sessions is standard practice, not a workaround. A soft bend at the knee absorbs vibration more gently than a locked, straight leg and reduces transmission to the lower spine.
After two to three weeks of tolerance, frequency can increase by 2 to 3 Hz at a time, up to a working range of 15 to 25 Hz for most senior users. Sessions can extend to ten to fifteen minutes once the body has adapted. Simple calf raises, heel lifts, and gentle weight shifts on the plate activate the lower leg and hip muscles most relevant to balance and gait stability.
For machine recommendations suited specifically to older adults, my guide to the best vibration plate for seniors covers models with the platform stability, grip options, and manageable frequency ranges that this user group needs most.
How to Use a Vibration Plate for Arthritis and Joint Conditions
Joint conditions require a different approach from general fitness use. The main adjustment is frequency: lower settings, between 6 and 15 Hz, produce slower, gentler oscillations that encourage synovial fluid movement and circulation without loading the cartilage at the rate that higher frequencies do.
For knee arthritis, a soft-knee stance at 8 to 12 Hz for five to eight minutes is the standard entry point. Avoid deep squats or positions that increase compression on the joint. Simple standing, gentle calf raises, and seated use with feet on the plate are the most appropriate positions during the early weeks. If the joint feels warmer or more swollen after a session, reduce frequency and shorten the next one.
Plantar fasciitis and other foot conditions respond well to seated use, where only the feet rest on the platform at low frequency. This stimulates circulation in the foot and lower leg without the full-body load that standing creates.
For machine recommendations suited to joint conditions, my picks for the best vibration plate for arthritis cover models with lower amplitude and a stable, wide platform. Users with foot-specific conditions can also consult my guide to the best vibration plate for plantar fasciitis for models suited to low-intensity foot stimulation.
Building a Routine and Progressing Safely
Consistency is key to seeing results with vibration plates. Start by scheduling two or three sessions per week and gradually increase the frequency as your body adapts. Each session should include a warm‑up, the main exercises, and a cool‑down. Keep track of the settings you use and how you feel afterward. This self‑monitoring helps you adjust intensity safely.
To progress, increase only one variable at a time, frequency, amplitude, exercise complexity, or session length rather than boosting everything at once. For example, after two weeks of using 15 hertz for ten minutes, you might add two minutes to each session or raise the frequency to 20 hertz.
Pay attention to signs of overtraining, such as excessive soreness or fatigue, and scale back if necessary. Quality of movement matters more than quantity; sloppy form reduces benefits and increases injury risk.
If your goal is to improve bone density or support conditions like osteoporosis, choose machines with consistent vibration patterns and moderate frequencies. Our review of the best vibration plates for osteoporosis outlines models designed to provide safe, controlled stress for bones without jarring impacts.
Frequency and Amplitude Settings by Goal
Most guides describe frequency in vague terms. Here are the specific ranges that produce predictable results, based on protocols used in research and what works consistently in practice.
For warm-up and mobility, 6 to 12 Hz for one to three minutes at low amplitude is the right starting point. This stimulates blood flow and loosens joints without fatiguing the muscles and suits users with limited tolerance as a standalone activity as well as a pre-workout phase.
For general fitness and toning, 20 to 35 Hz for five to fifteen minutes at moderate amplitude produces consistent muscle activation in the legs, glutes, and core. Most general-use machines are calibrated for this range and it is where most users will spend the majority of their sessions.
For weight loss support, 25 to 40 Hz for ten to twenty minutes combined with active exercises produces the best results. Combining the plate with squats, calf raises, or lunges increases caloric demand and muscle fiber recruitment significantly. Passive standing alone is not an efficient fat loss approach at any frequency.
For circulation and recovery, 6 to 15 Hz for five to ten minutes at low amplitude suits post-workout recovery or users whose primary goal is circulatory health. My guide to the best vibration plate for circulation covers the machine features that matter most for this application.
For bone density, research protocols typically use 25 to 50 Hz for ten to twenty minutes, three sessions per week. This range requires a machine with consistent frequency output at the higher end; consumer-grade plates vary significantly in accuracy at these settings.
Personal Experience and Practical Tips

When I first stepped on a vibration plate, I was curious yet skeptical. The platform hummed beneath me, and I felt my leg muscles activate more quickly than during a regular warm‑up. After a few sessions, I noticed subtle improvements in my balance and lower leg strength. Over months, I started using the plate as part of my morning routine, standing on it while drinking water and planning my day.
One thing I learned is the importance of posture and breathing. If I let my knees lock or my shoulders hunch, the vibration felt jarring rather than refreshing. By keeping my core engaged and shoulders relaxed, I could stand on the plate longer without discomfort.
I also found that shorter, more frequent sessions were more effective than occasional long workouts. For example, three ten‑minute sessions per week yielded better results than a single thirty‑minute session. These insights align with the experiences shared in our LifePro Rumblex review, where I describe how varied vibration patterns kept sessions engaging and beneficial using thi plate.
Another tip is to combine vibration training with other forms of exercise. I often use the plate as a warm‑up before resistance training, which primes my muscles and joints for heavier lifts. On recovery days, I stand or sit on the platform at a low frequency to stimulate circulation and reduce soreness. A balanced approach keeps my workouts interesting and prevents me from overusing any single modality.
Common Mistakes That Reduce Results
Most people who stop using their vibration plate within the first month are not doing so because the technology failed them. They hit a plateau or decided it was not working, and in most cases, one of a small set of fixable errors is responsible.
Locking the knees is the most common mechanical error. A rigid, straight leg transfers vibration directly into the lower spine rather than absorbing it through the knee and hip. The correct stance keeps a soft bend at the knee at all times, and this is particularly relevant at higher frequencies where the transmission effect is amplified.
Using the wrong frequency for the goal is the second most common issue. Users targeting weight loss often set their machines to low, slow frequencies because higher settings feel more intense and therefore more like effort. The relationship is the opposite: passive standing at 10 Hz produces far less muscle activation than active movement at 30 Hz. Match the frequency to the goal using the ranges in the section above.
Running sessions too long as a beginner is counterproductive. More time at high frequency does not produce better results; it produces cumulative vibration exposure that outpaces what the neuromuscular system has adapted to, which increases fatigue and slows recovery. Five to ten minutes is the correct starting range.
Readers who want to know whether that window applies before or after the main session will find a full breakdown in my guide on using a vibration plate before or after training.
Repeating the same position every session limits the muscles that respond. Rotating between a standard stance, a calf raise hold, and a shallow squat across sessions produces better overall activation than standing flat-footed each time.
Athletes applying this approach within sport-specific programming can find a more detailed protocol breakdown in my guide on vibration plate for sport performance.
For a machine with precise frequency control that makes it straightforward to match settings to goals, my picks for the best Lifepro vibration plate cover models tested for consistent, accurate frequency output across the full speed range.
Choosing the Right Vibration Plate for Your Needs
Selecting the best vibration plate depends on your goals, budget, and home space. Compact models are ideal for small apartments, while larger platforms provide more room for dynamic exercises. Consider the frequency range, number of speed settings, and vibration type (oscillating, linear, or multi‑directional). Some machines come with handles, resistance bands, and remote controls, which can add convenience and safety.
Readers building their first setup on a modest spend can find my evaluation of the best affordable vibration plate options as a starting point.
nFor a machine that includes all of those features in a mid-range package, my Lifepro Rumblex Pro 4D detailed review shows how they hold up in daily use.
If you want a premium experience with smooth performance and advanced features, check out our Power Plate MOVE review. It describes a high‑end model with multiple frequency settings and a solid platform designed for reliability.
For those seeking a budget‑friendly option with versatile motion, our Merach Vibration Plate review offers insights into a compact machine that suits beginners and travellers.
On the other hand, the LifePro Rhythm review highlights a model built for gentle movement and rehabilitative use.
Bringing It All Together

Learning how to use a vibration plate is a rewarding process that combines mindful posture, gradual progression, and consistent practice.
That progression-focused approach is especially valuable for people using vibration plates to improve stability over time, and I cover the specific application in my article on vibration plate balance training.
Start with basic stances and low settings, then incorporate simple exercises once you feel stable. Use low frequencies for lymphatic drainage and recovery, and medium to high frequencies for weight loss and muscle activation. Always listen to your body and consult a professional if you have medical concerns.
So, are vibration plates good for you? Yes, if you follow my guidelines, you can make vibration training a valuable part of your wellness routine or a recovery process. The right vibration machine, proper technique, and patient progression will help you reap benefits like better circulation, improved strength, and enhanced recovery.
The most common beginner mistake is chasing intensity too early. A plate set to a high speed or frequency for the first session produces soreness similar to a hard gym workout, which often causes people to scale back or stop entirely. Starting at the lowest comfortable setting for two weeks gives the neuromuscular system time to adapt, after which intensity can increase without the same soreness response.
Footwear choice affects the session meaningfully. Barefoot use transmits vibration most directly and is preferred for proprioception training and balance work. Wearing training shoes reduces vibration transmission but adds stability, making shoes the better choice for loaded exercises like squats or calf raises. There is no universal rule. The choice depends on the goal of that specific session.
Breathing is frequently overlooked in vibration plate guides. Holding the breath during sessions reduces the calming effect and can cause mild head pressure at higher frequencies. Slow, deliberate exhales during the session help the body regulate its response to vibration and support the parasympathetic shift that makes recovery sessions effective.
FAQs
How to use a vibration plate for weight loss?
To use a vibration plate for weight loss, combine dynamic exercises with medium to high frequencies. Performing squats, lunges, planks, and push‑ups on the platform elevates your heart rate and engages large muscle groups. Sessions should last 10–15 minutes, and you should pair vibration workouts with regular cardio and a balanced diet for the best results.
How to use a vibration plate for lymphatic drainage?
To use a vibration plate for lymphatic drainage, set the machine to a low frequency and stand with soft knees. Gently shift your weight and breathe deeply to encourage fluid movement. Sessions of 5–10 minutes are usually sufficient, and you should avoid high-intensity moves during lymphatic sessions.
How to use a vibration plate for beginners?
To use a vibration plate for beginners, start with short sessions at low frequencies and focus on basic stances. Stand with your feet shoulder‑width apart, knees bent, and core engaged. Gradually add gentle movements like knee bends and weight shifts, and only progress to more complex exercises once you feel stable.
How to use a vibration plate for back pain?
To use a vibration plate for back pain, choose low frequencies and simple movements that promote blood flow without strain. Stand with a neutral spine and soft knees, then try gentle pelvic tilts or knee bends. Always consult a healthcare provider before starting if you have any spinal conditions.
How often should I use a vibration plate?
You should use a vibration plate two to three times per week when starting out. Sessions can last 5–15 minutes, depending on your goal and experience level. After a few weeks, you may increase frequency or session length, but always allow time for recovery and listen to how your body responds.

About the author: Hello! I’m Vladimir Stanar, professor of physical education, kinesiotherapist, marathon runner, cyclist, and cycling coach, and long-time advocate of health, fitness, and active living.
My journey with vibration plates runs parallel to my professional career in education, sports medicine, and athletic development. Over time, I’ve come to see vibration plates as one of the most versatile tools for enhancing health, recovery, and performance.